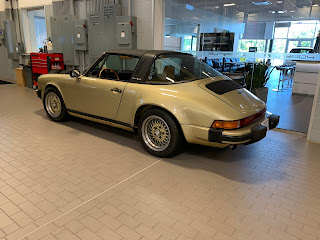
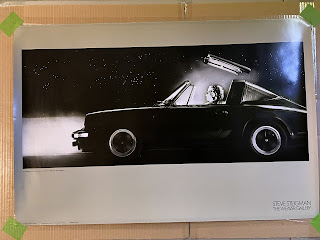
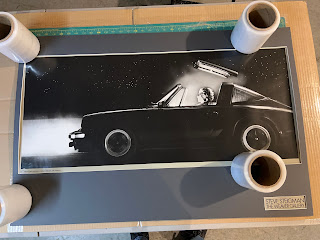
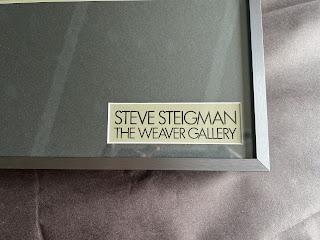
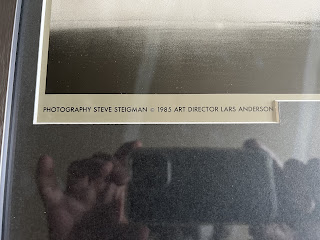
In January, I won an auction (offered by “adomala” aka Josh) for a hard to find Weaver Gallery Blown Away Poster by Steve Steigman, featuring a Porsche 911 G-Body Targa - Probably early ‘80s model as poster is from 1985. Since I have one (although an early model ‘76 Targa and in platinum metallic or gold…but the emotion is there) - pictured below at the Porsche dealership after some work was done.
I have been looking for one for a long time and this one was in great condition. I paid a pretty penny for it but it was worth every bit of it. Josh did a phenomenal job in answering my flurry of questions and did what I think was the most comprehensive packing and shipping job I have seen (and learned from, double-tubed, insured, waterproofed, signature required, and then some). I had a vision of how I would frame this, very similar to how I did a similar Steigman poster (guy in chair classic one) with 2 cutouts on the mat board. Since that was so expensive to have the mat board cut, I thought I would do this project myself. I had some new thick acrylic which I bought in a large lot at an estate sale along with the Mat Board Cutter (Logan). I went with a nicer Nielsen Profile #117A Brushed Satin Pewter (aluminum) frame which looks awesome and has a large rabbet which was a blessing because the plexiglass is thicker than normal and wanted to have foam core on the back as well.
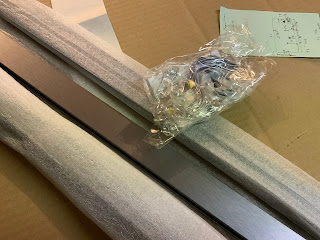
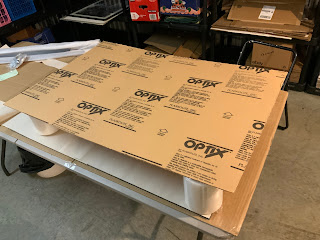
I had already cut the black foam core to size (24x36) and the plexiglass using an 80 tooth blade on my hand circular saw. It turns out the poster is technically 35 15/16” wide. I will see how this plexiglass looks and may upgrade in future to a UV coated plexiglass or may do real UV coated glass, but nothing stopping me from doing that in future.
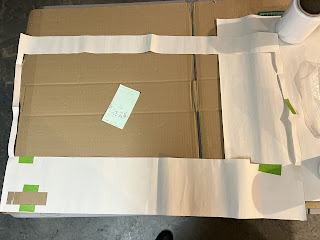
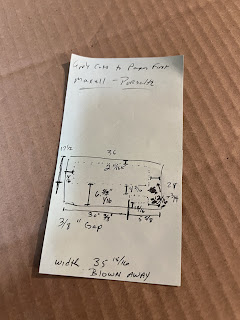
The mat board cutting was going to be my biggest challenge, so I started off with some clean wrapping paper the size of the target picture and did all the measurements and did a test cut on it first. Once I made final adjustments, it ended up like this:
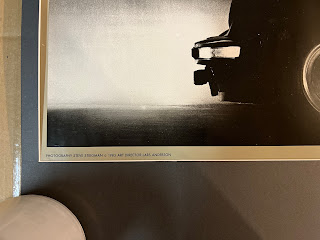
Next was to put a fresh blade in the mat board cutter. I had originally intended to do a cutout for the text in bottom left where it states printed in France, so ended up just having to go straight across the bottom to correct it. This was really what I was going to do with the original vision, but I cut the bevel on one cut in the wrong direction, so had to change course a little. Still looks awesome. I am keeping the template and may go after the more complex mat board cut in the future as well. I had bought 2 sheets of the mat board in a Crescent #9631 Coal Mine, but had already messed one up when I accidentally cut it to 24x30 incorrectly, oh well..will use that on another project I am working on (to be posted in a few weeks).
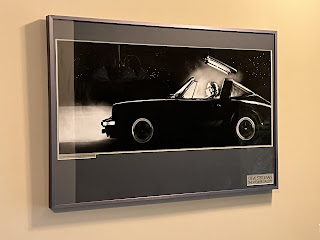
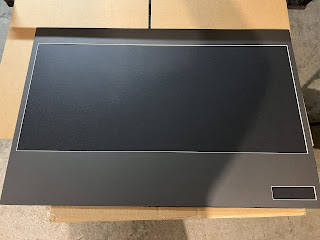
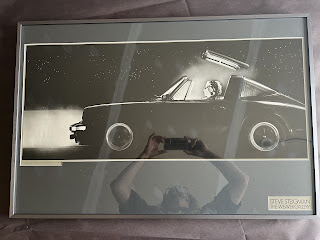
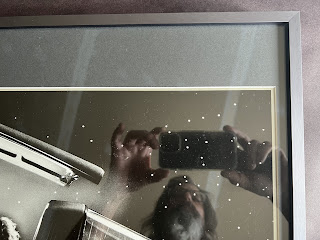
Next was to confirm the fitment and to my delight (and surprise), came out astoundingly well.
I am in the process of final assembly and will update this post when I complete it.
On the fence if I am going to sell this. Probably, but want to enjoy it for a bit.
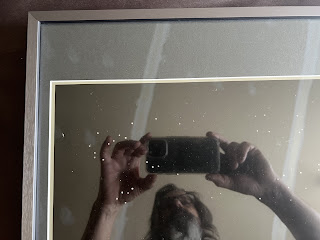
Ok, decided to redo the mat and got UV coated glass at Jerry’s. Final product. I know where the minor flaws are, but I can accept this.
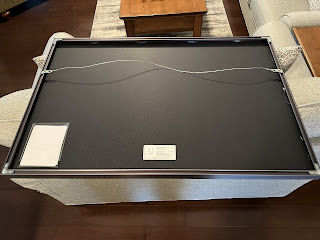
Recently I made a few changes. I put this on acid-free foam core and the black foam core behind that. I put an aluminum strip across the top to recede the waviness, although not completely. I have another one of the same poster and when I frame it I will make the frame 1” higher and 1” wider to give me some working room for mounting.
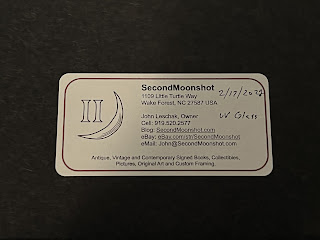
John


Comments
Post a Comment
No URLs, I delete comments which appear to be be advertising.